Hi crafty friends! Today I am sharing a gate fold card featuring Altenew’s Build-A-Garden Climbing Clematis stamp, die, and stencil set. The clematis flower symbolizes intellect, mental beauty, and strength which makes this the perfect flower for someone in your life celebrating a special day whether it be a birthday, promotion, or any other joyous purpose.

Creating the Card Base
I cut a piece of white heavyweight cardstock to measure 7” x 10”. Using my Scor-Pal Scor-Buddy scoring board, I scored the celebrating cardstock (on the long side) at 2.5” and flipped the paper long-wise and scored it again at 2.5”. I reinforced the folds with the Scor-Tool that comes with the Scor-Buddy. You should end up with a 5” x 7” card base that has two front card flaps that meet in the center of the card.
Creating the Front Panel
I cut a piece of white with grey dots patterned paper to measure 5” x 7” then cut that in half so that I had two panels measuring 2.5” x 7”. Using Bearly Art Precision Craft Glue, I adhered each strip of patterned paper to the front flaps of the card base.
Creating the Focal Point
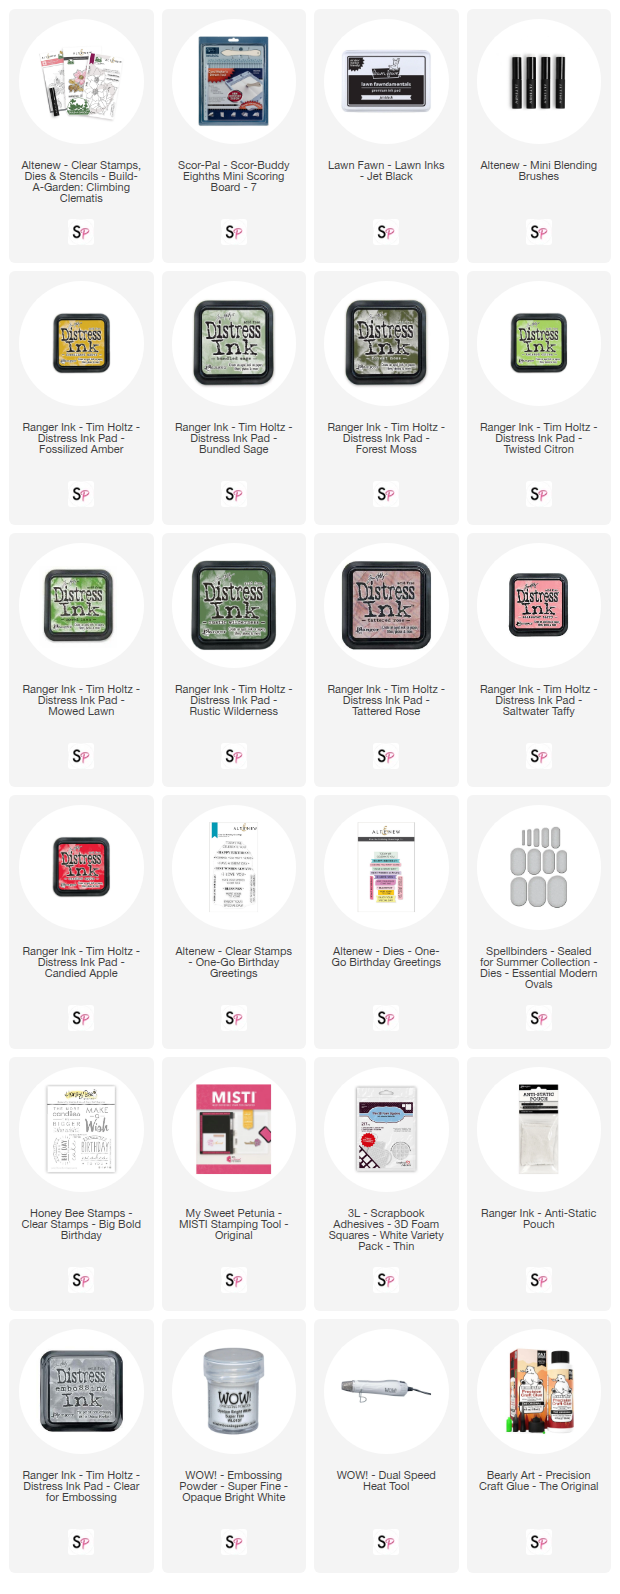
Using the Altenew Climbing Clematis stamp from the set, I stamped the floral image onto a piece of white cardstock using Lawn Fawn Jet Black ink with the assistance of my My Sweet Petunia’s MISTI Stamping Tool. I colored the image using Ranger/Tim Holtz Distress Inks in the colors listed below and Altenew Mini Blending Brushes:
Flowers: Distress Ink Tattered Rose, Saltwater Taffy, Abandoned Coral, and Candied Apple
Leaves: Distress Ink Bundled Sage, Forest Moss, Twisted Citron, Mowed Lawn, and Rustic Wilderness
Stamen Clusters: Distress Ink Fossilized Amber

After ink blending was completed, I used the coordinating die and die cut the image and die cut three additional layers from white cardstock to glue behind the ink blended one for substance. Using Bearly Art Precision Craft Glue, I glued all the layers together and placed an acrylic block on them until they dried. Next, I die cut a piece of vellum using the largest die from the Spellbinders Essential Modern Ovals die set. This vellum oval will serve as a landing point for my floral image that will be adhered to the card front.
Preparing the Sentiment
For the sentiment, I chose to white emboss “Enjoy Your Special Day!” from the Altenew One-Go Birthday Greetings stamp set onto peach cardstock. I began by swiping Ranger Ink’s Anti-Static Pouch across the front of the peach cardstock to apply anti-static powder, then applied Ranger’s Clear Embossing Ink onto the stamp before stamping it onto the cardstock. I used WOW! Opaque Bright White Embossing Powder over the ink, tapped off the excess and heat set it with my WOW! Dual Speed Heat Tool. After the embossing powder cooled, I wiped off any excess anti-static powder and die cut the sentiment using the Altenew One-Go Birthday Greetings Die.

Assembling the Card Front
Using Bearly Art Precision Craft Glue, I glued the stacked Climbing Clematis die cuts onto the center of the vellum oval and set it aside to dry. Once the glue dried, I positioned the florals on vellum onto the center of the closed card front and glued the left half of the focal image to the left flap of the card front ensuring glue was only applied to the back of the florals and not the vellum (the right side does not get an application of glue since this is a gate fold card). I adhered the sentiment using a combination of Scrapbook Adhesives 3D Thin Foam Squares and liquid glue.
Finishing the Design
For the final details, I staggered some enamel dots from my stash diagonally across the card front and used the “Happiest of Birthday Wishes to You” sentiment from the Honey Bee Stamps Big Bold Birthday stamp set on the card’s interior.

Thank you for stopping by and be sure to check out ScrapbookPal.com for all your card making and paper crafting needs – until next time, happy crafting!