Hello and welcome to the blog! April Leithner (@inkycreationswithapril) here bringing you my first card as part of the Design Team. I am so excited to share this fun project with you.
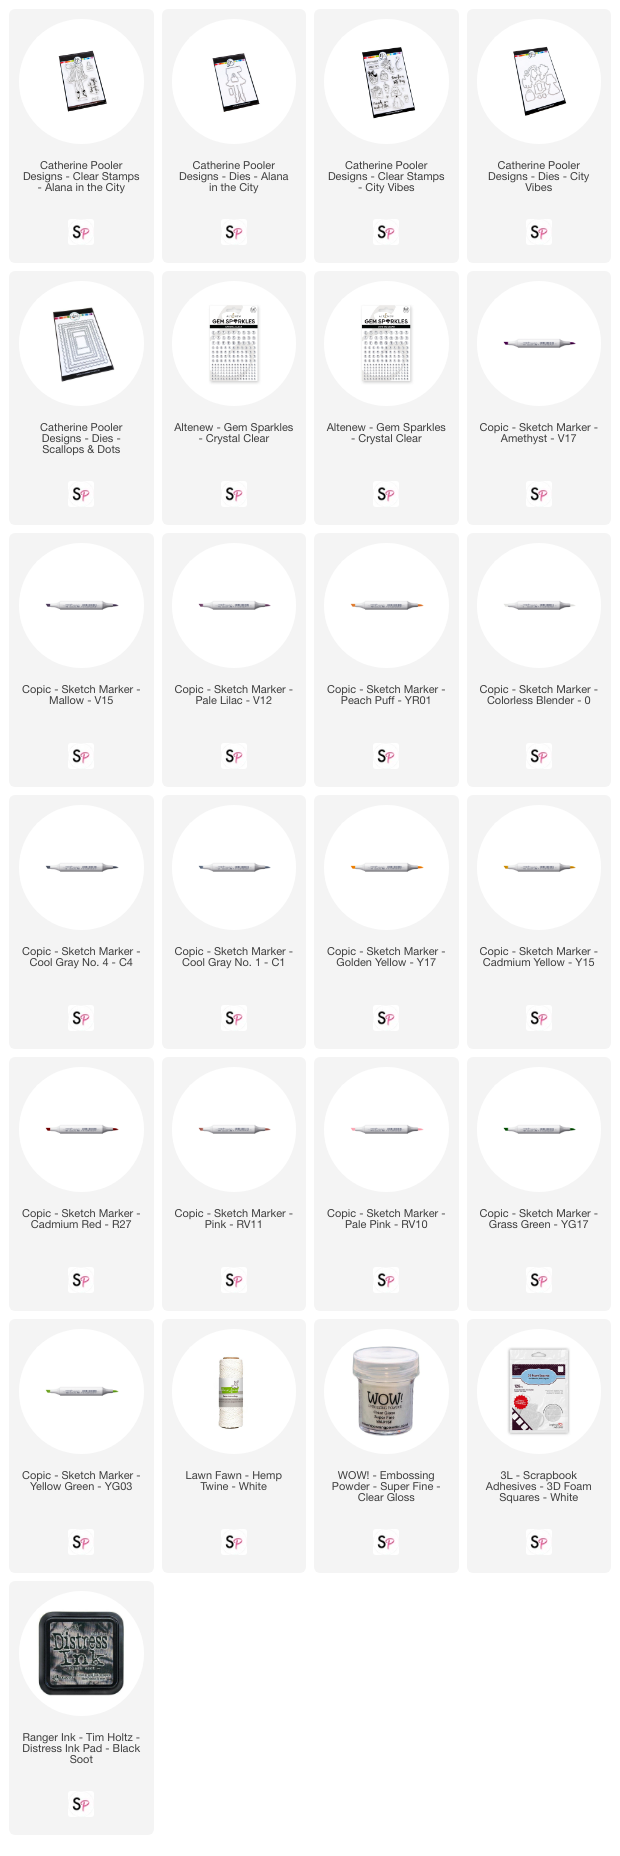
My card features the Catherine Pooler Alana in the City Stamp Set and Coordinating Die Set, as well as the Catherine Pooler City Vibes Stamp Set and Coordinating Die Set for the flower bunch. The images from these sets were colored using Copic Markers. I, also, grabbed the Catherine Pooler Scallop and Dots Die Set to add interest to the background.

First, stamp the images from the Alana in the City Stamp Set and the flowers from the City Vibes Stamp Set. Then, use Copic markers to color all the images. Copic Markers used: Skirt (V17, V15, V12) Top (C4, C1) Skin (YR01, 0) Purse (Y17, Y15) Heart (R27) Flowers (RV11, RV10, V15, V12, Y17, Y15, YG17, YG03).

Use the Alana in the City Die Set and City Vibes Die Set to cut out the images that were colored. Then carefully cut around the hand on the person image to be able to tuck the purse under the hand so it appears it is being held.
Use some low tack tape to hold the two largest dies in Catherine Pooler's Scallop and Dots Die Set together to create a frame plus background panel in one pass through a die cut machine.

Use a V17 Copic Marker to color the scalloped frame and C4 to color around the edges of an A2 piece of white cardstock. I love to use Copic Markers to create custom colored cardstock that will match my project perfectly.
Heat emboss with black ink and Clear Embossing Powder a sentiment on the dotted piece of cardstock.
Use 3D Foam Squares to hold the frame and dotted piece together. Put foam squares on the back of the two pieces where they meet. This process allows for no masking when the frame is colored with the Copic Marker and adds extra detail.

Remove the release paper from the foam squares and add to the center of the background panel with the grey edges. Then add the purse to the person image with a small amount of adhesive, tucking it under the hand carefully. Adhere this to the background panel.
Tie some Lawn Fawn White Lawn Trimmings Twine around the flower bunch, then pop up using 3D Foam Squares.

Add some Crystal Clear Gem Sparkles from Altenew for some added interest.
Adhere entire panel to a heavy weight card base.
I hope you love this fun card and are inspired to get out your Copic Markers to do some coloring. Thank you for so much for stopping by the blog today.
Supplies Used:


Comment
There are lots of great ideas by talented and creative people. I love all the ideas you put out there for us to see.