

Hi crafty friends! Simeen here today sharing a Christmas card featuring the Pinkfresh Studio Holiday Treasures set.
This card started out a little differently than I had planned. When I sat down to create, I realized I had the stamp and coordinating die—but somehow forgot to order the coordinating stencil! With all of those tiny images, my first thought was, how am I going to color all of this?!
But sometimes those little crafting mishaps lead you in a direction you wouldn’t have taken otherwise, and that’s exactly what happened with this card.
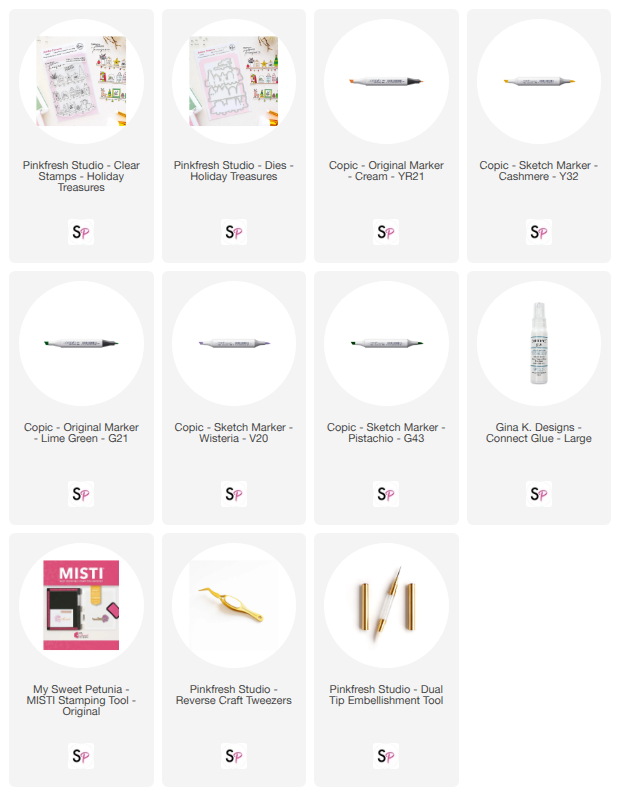
I decided to make lemonade out of lemons and pull out my Copic markers. Instead of trying to completely color every tiny detail, I went with selective coloring and kept my palette fairly simple. I used soft greens, warm yellows, peachy pinks, and a touch of lavender. I also intentionally left some areas white, which made coloring all of those tiny images much more manageable and gave the finished pieces a light, clean look.

Once everything was colored, I used the coordinating die to cut out the three shelves. Seeing them die cut was really when the card started to come together!

For the background, I wanted some texture without competing with all of the little details on the shelves. I chose a white pierced background and kept it white-on-white. I love how the subtle texture adds interest while still allowing the colored images to be the focus.
I arranged the top and bottom shelves toward the edges of the card and left a larger opening between the top two shelves for my sentiment. I added “Have yourself a Merry Christmas” in black, which gives the eye a strong focal point among all of the smaller images.

Finally, I added dimension behind the shelves and sentiment before adhering everything to my card front. There are so many tiny details in this set that I decided the card didn’t need any additional embellishments.
And that was it!
What started as an “Oh no, I forgot the stencil!” moment ended up becoming one of my favorite parts of the design. I probably would have colored every image if I had the stencil, but selectively coloring the stamped images gave the card a softer look and allowed some of those beautiful illustrated details to shine.
It’s also a good reminder that you don’t always need every coordinating product to create something you love. Sometimes you just have to change the plan—and make a little crafty lemonade out of lemons!
Thanks so much for stopping by the ScrapbookPal blog today. I hope this inspires you to pull out your markers and try a little selective coloring on your next stamped project!
Happy crafting!
Products Used: