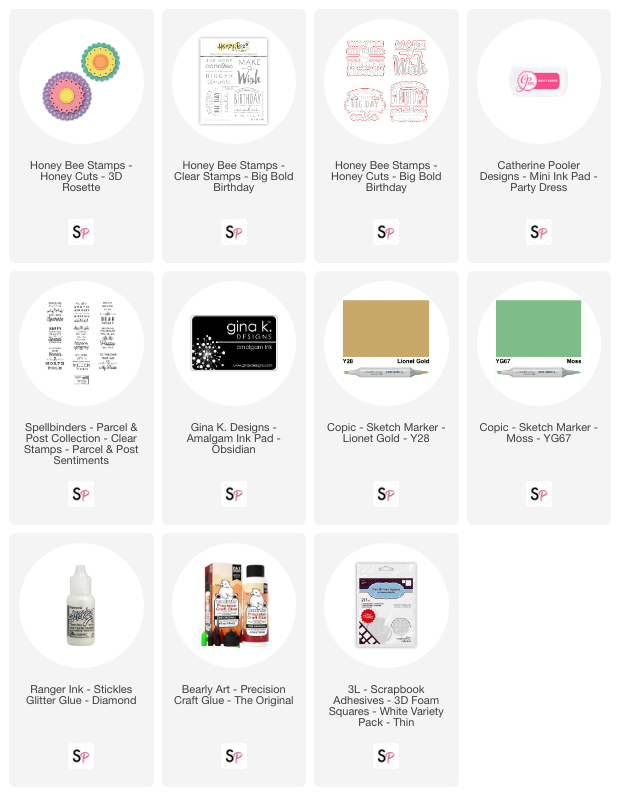
Hi there! Today I am sharing a fun die set called the 3D Rosette Die from Honey Bee Stamps.
I began by die cutting 3 pieces of yellow card stock from the smaller die and 5 orange pieces from the larger die. I glued with Bearly Arts glue all the pieces together and folded the scores lines backward and forward in an accordion fold.
Once I folded all my score lines, I glued with Bearly Arts Glue the pieces together to create a circle. Note: I glued over two scored segments on the orange piece to make the circle.
For the yellow piece, glue over one scored segment to create the circle.
After letting my circles dry really well, I used my hot glue gun to bunch up my circles and seal them with hot glue while placing a small circle die cut on top. I also added a second small circle die on the other side of my Rosette ensuring it was very secure.
I added the small and large Rosette to a piece of patterned paper using Barely Arts Glue and let this dry.
I stamped the Make a Wish sentiment from the Honeybee Big Bold Birthday stamp set onto white card stock using Catherine Pooler Party Dress ink. I used the coordinating Big Bold Birthday Die set to cut out the sentiment.
The sentiment was added to the card front using 3L Foam Adhesive squares.
I added the patterned paper to an A2 sized card base (4.25 x 5.5 inches).
For my final touch, I added dots of Stickles Diamond Glitter glue all over my patterned paper.

I also created an additional card using the 2D Rosette Dies also include in the Honeybee Rosette Die set. I cut my Rosette pieces from Black and Gold card stock and layered them together with Bearly Arts Glue.
These were added to a piece of white card stock splattered with some gold ink and I popped up a sentiment from the Spellbinders Parcel & Post stamp set with 3L Foam Adhesive Squares. The small flowers on the sentiment were colored with Copic Sketch Markers Y28 and YG67.

Be sure to check out my video for all the details on this fun 3D Rosette project.
Happy crafting! xoxo, Katherine
Supplies:


