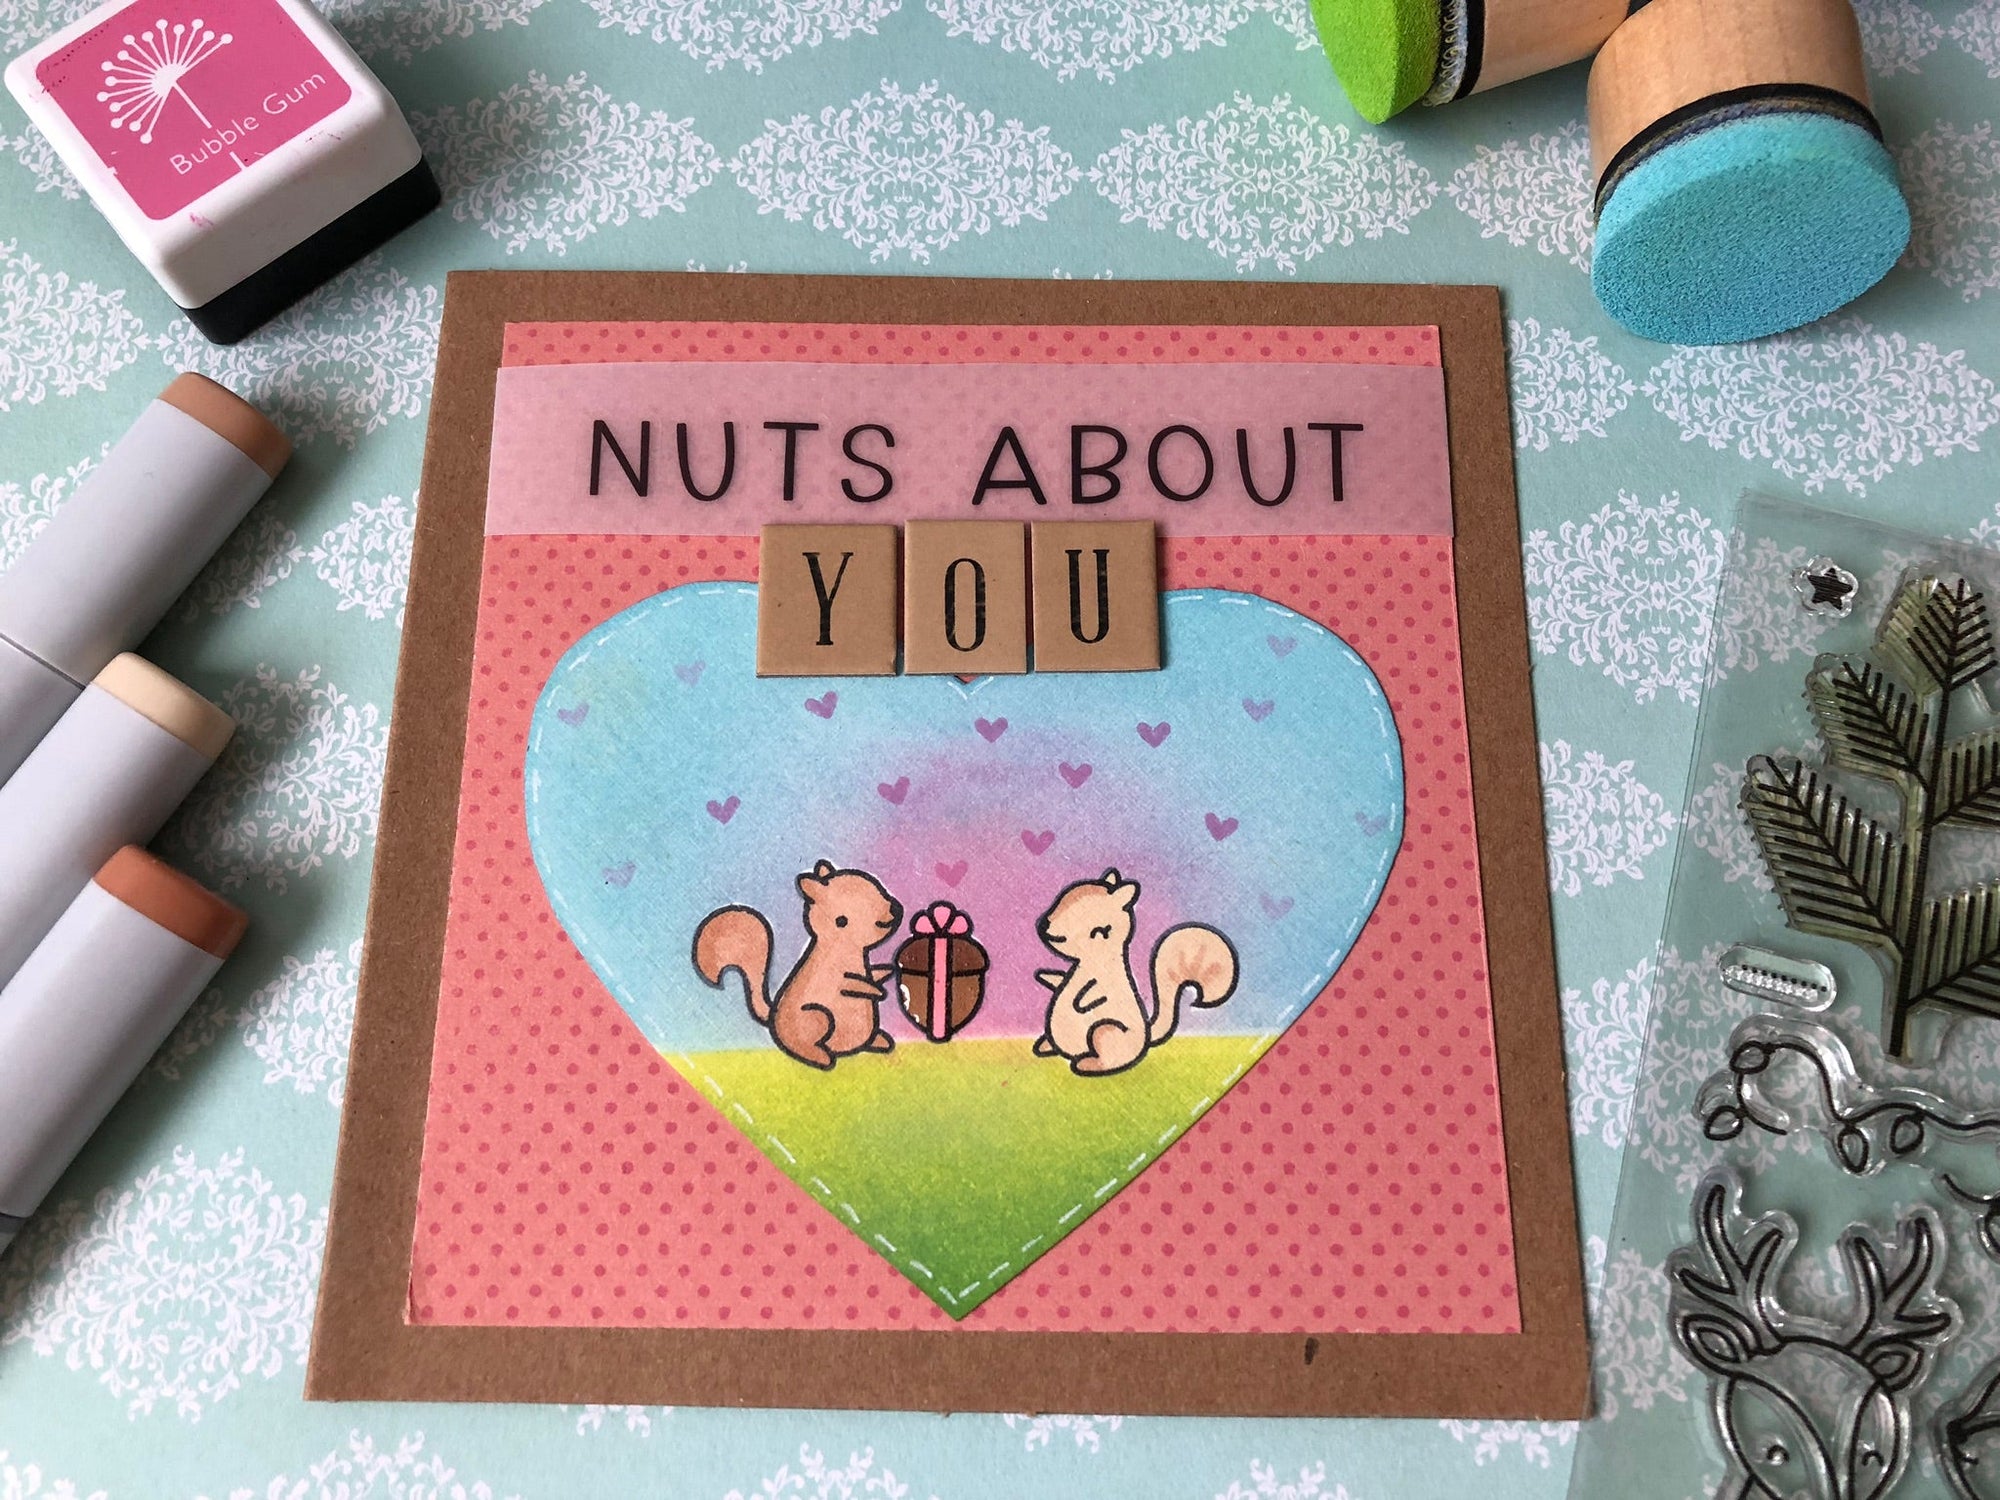
When I buy a stamp set I want to make the most out of it, as I'm sure you do. When I got my Lawn Fawn Cheery Christmas stamp set for Christmas I just had to create something out of it. I looked at the stamps individually and that is when I got the idea to use the squirrels in a nutty Valentine’s Day card. So here is a fun and quick way of using one of the Christmas holiday stamps sets for Valentine’s Day, using Lawn Fawn Cheery Christmas stamp set.
Step 1: Die cut a medium-large heart shape from white cardstock. Stamp in the center of die cut heart the two squirrels and the acorn present from the Lawn Fawn Cheery Christmas stamp set with any Copic friendly black ink. Color them with some basic Copic markers, I used the E53 & E33 for the right squirrel and E13 &E33 for the left one. For the acorn present, I used E13 & E59 along with V04 for the ribbon.
Step 2: Stamp the images again on some masking paper and fussy cut them out. Place them over the stamped and colored images on the heart. Use some sticky notes (or masking paper) to first cover the bottom/ grass part of the hart. First use the blending tool to apply Tumbled glass Distress Oxide to cover the entire top of the heart. Then apply some Picked Raspberry Distress Oxide and blend it in just at the center between the squirrels. Finish it off by blending the Broken China Distress Oxide at the edge and remove the sticky notes.
Step 3: Repeat the process by covering the already inked sky part of the heart with sticky notes. Apply the Twisted Citron Distress Oxide over the bottom part and then blend the edges with Mowed lawn Distress Oxide and remove the sticky notes.
Step 4: Pell the masking paper off the images and add some tinny hearts from the same stamp set around the squirrels with Bubble gum ink. Finish the heart off by adding white faux stitched lines along the edge and applying Glossy Accents on the acorn present.
Step 5: Cut some light pink cardstock into 4.3x 4.3 and stamp the Itsy-bitsy polka dots background stamp with same Bubble gum ink you used for the tiny hearts on the image.
Step 6: Adhere the heart at the bottom of the stamped square. Make a 0.8 wide parchment paper strip and place the sticker letters ‘nuts about’ in the middle of it. Fold it around the stamped square and adhere it at the back. Finish the card off by placing bold ‘YOU’ alphabet stickers under the ‘nuts about you’ line and adhere the whole thing on to some brown cardstock.
Items Used:
- Lawn Fawn Clear Cheery Christmas Stamp LF1216
- Tim Holtz Distress OXIDE Ink Pad - Twisted Citron TDO-56294
- Tim Holtz Distress OXIDE Ink Pad - Picked Raspberry TDO-56126
- Tim Holtz Distress OXIDE Ink Pad - Tumbled Glass TDO-56287
- Tim Holtz Distress OXIDE Ink Pad - Mowed Lawn TDO-56072
- Tim Holtz Distress OXIDE Ink Pad - Broken China TDO-55846
- Ranger Mini Ink Blending Tool IBT40965
- Copic Sketch Marker Sand E33-s
- Copic Sketch Marker Light Suntan E13-s
- Copic Sketch Marker Raw Silk E53-s
- Copic Sketch Marker Lilac V04-s
- Copic Sketch Marker Walnut E59-s
- Sakura Gelly Roll Medium White 37819
- Ranger Inkssentials Glossy Accents GAC17042
Instagram: craftylb67


