Hi there! It’s Colleen Beamish here from @humorbean_cards, and today I’m so excited to walk you through how I created a vibrant floral card using the Blooming Grace product suite from Pinkfresh Studio.

This beautifully coordinated set makes it so easy to craft elegant floral designs. I started by ink blending through the layering stencils using seven different ink colors to build depth and dimension. Once the base layers were done, I used my MISTI to stamp the delicate details right over the stenciling. Then, I brought it all together with the coordinating dies to cut everything out perfectly—no fussy cutting required!

For the background, I used a rectangle die to cut two separate frames: one with a wider border from vellum and a thinner one from white cardstock. I stamped the sentiment directly onto the card base, then layered the frames—popping up the vellum one with foam tape for some soft dimension and adhering the white frame on top with liquid glue for contrast.

To finish it off, I arranged the floral pieces around the border and added a few gold pearls for a little sparkle and shine.

Want to see the full process in action? Check out the video on the Scrapbook Pal YouTube Channel for a step-by-step tutorial.
Happy Crafting!
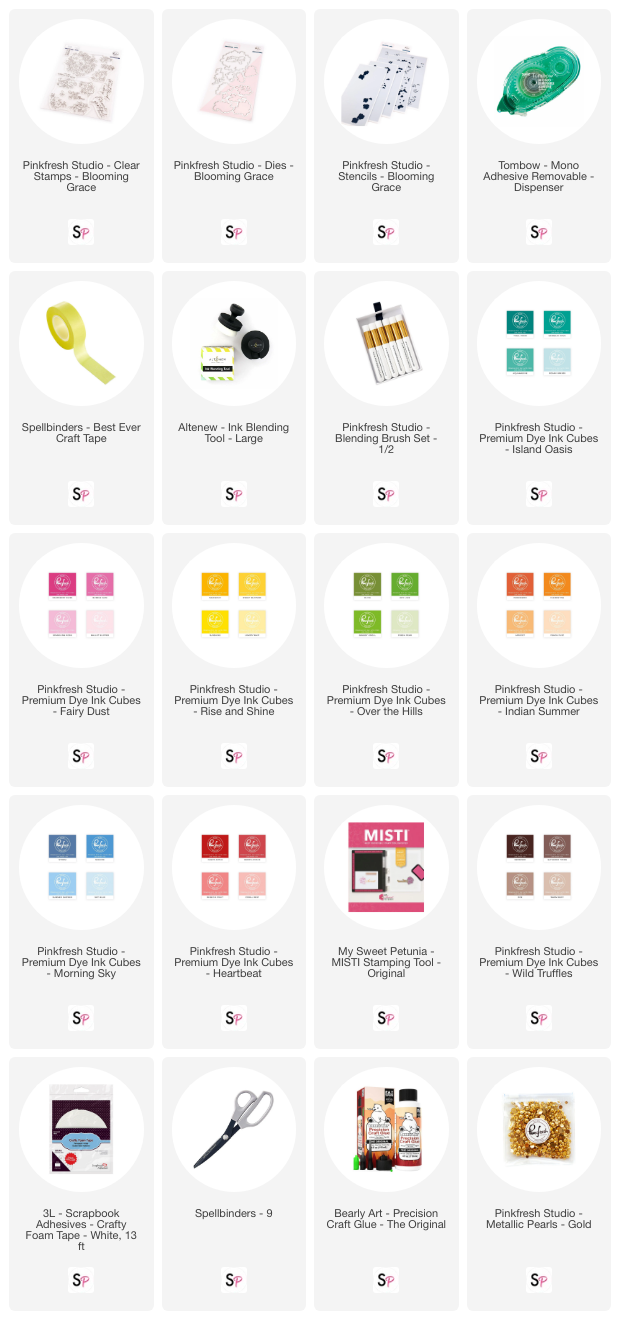
Supplies Used: