Hello crafters!
Raquel here from @paintsandglitter. Today’s tutorial focuses on the stunning Blushing Blooms collection from Pinkfresh Studio. This collection includes floral stamps and press plates with two sentiments, along with coordinating dies and stencils. Pinkfresh Studio makes it so easy to create cards, and one of my favorite details are the heartfelt sentiments!
Today I am using the press plates with 300gsm watercolor card. Using the Spellbinders Betterpress system, simply place the plates onto the magnetic base with the images facing you. Gently apply the Betterpress ink of choice, and run this through your die cutting machine. Once you’ve done so, color the images using any combination of inks that make you happy.

I am using the following from Pinkfresh Studio; Bubble Gum, Raspberry Bliss, Marigold, Grassy Knoll, and Lush Forest. Using the detail brushes and coordinating stencils makes this step a breeze! Next, using a couple of nesting dies from the Dotted Fancy Frames, I created a frame and base for my card. These will also be colored with a kiss of Sky Blue ink using a larger brush for a gentle glow. Lastly, I will die cut my floral images and apply the layers onto a 4.5”x5.5” top-folding card. To allow room for the floral arrangement and give the card interest, I applied the top-most frame and some of the blooms using dimensional adhesive. To finish this card, I adhered small glitter drops in blush with tiny drops of Nuvo deluxe adhesive.


I really enjoyed sharing this project with you and invite you to subscribe to ScrapbookPal’s Youtube channel where you can find this tutorial in video form along with many others full of great ideas. Thank you for spending some time with me today. Below, you will find the links to all items mentioned above.
Be inspired, Be Blessed!
~RaquelSK @paintsandglitter
Youtube Video:
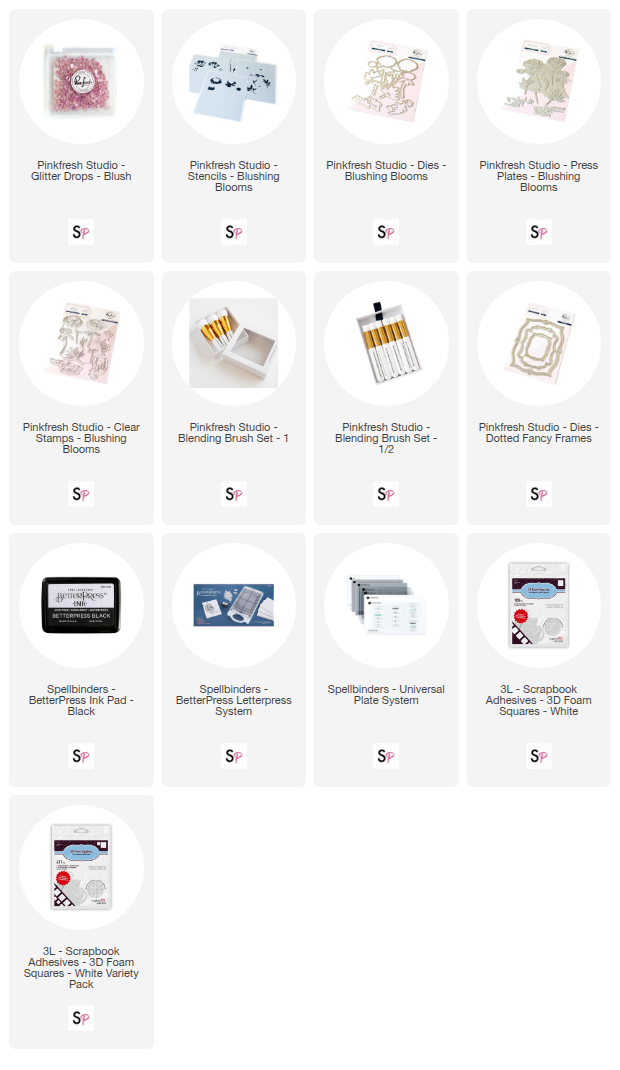
Supply List: