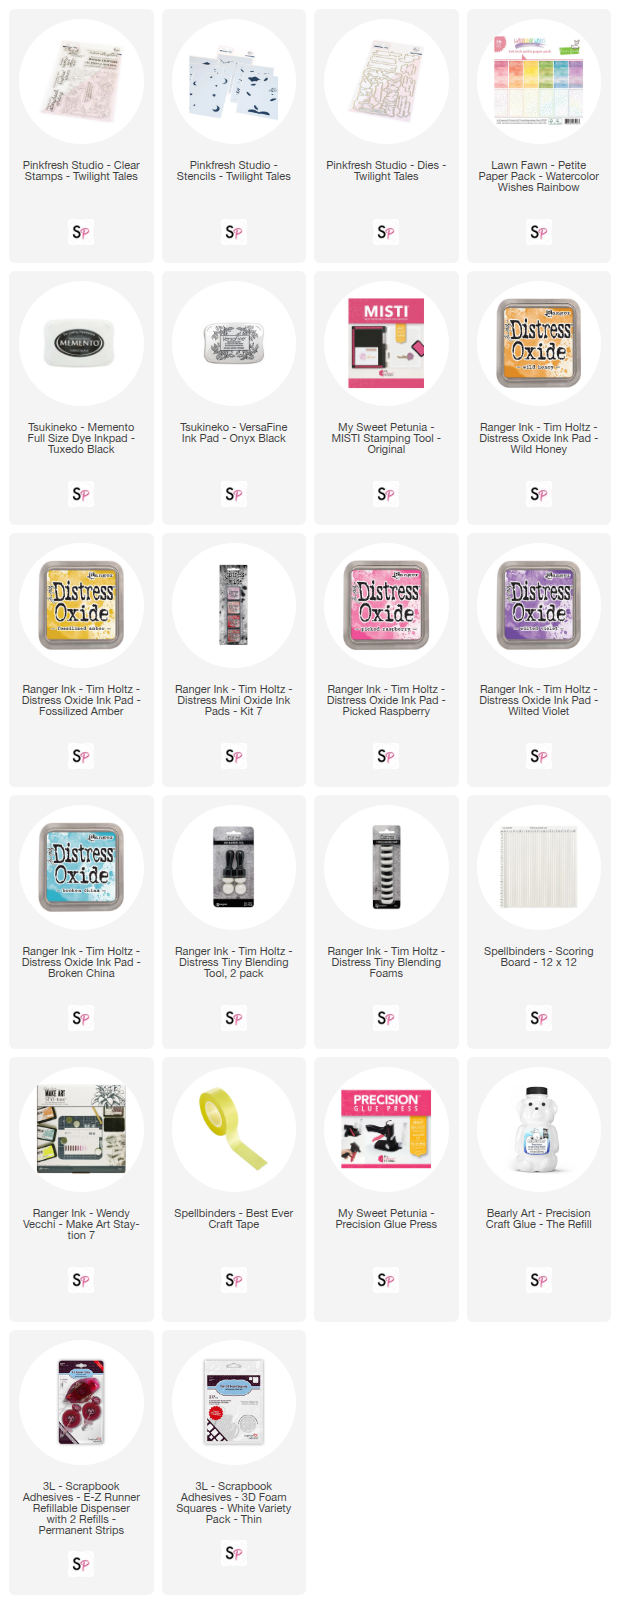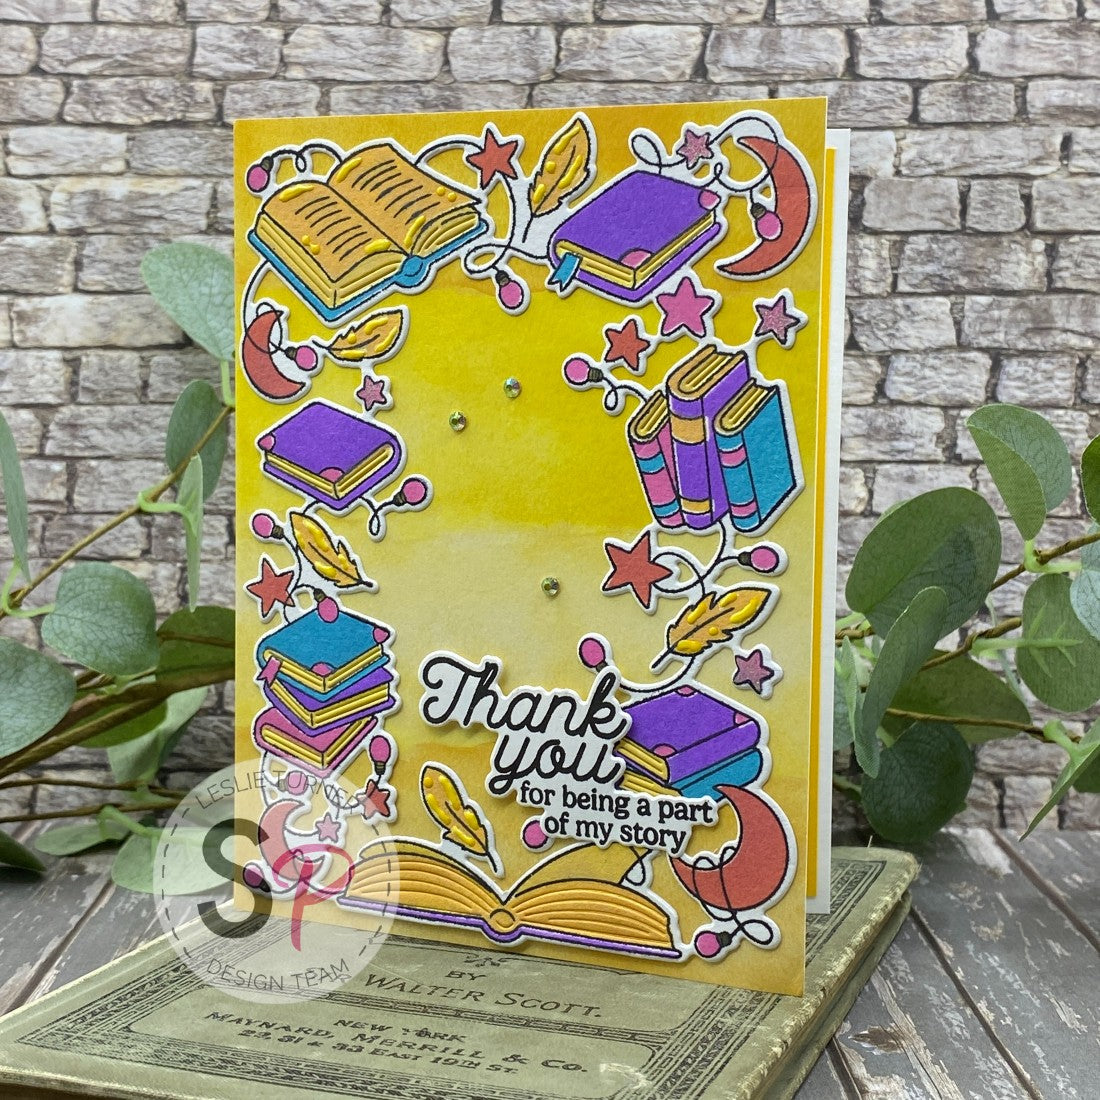
Hey everybody, happy Wednesday - I hope you’re having a great week! Do you love books, or do you have friends or family who love to read? If so, I have an easy and fun card for you that really packs a punch! Leslie here, sharing a tutorial for making an adorable book-themed thank you card featuring the Pinkfresh Studio Twilight Tales Stamps, Stencils and Dies. I also used Lawn Fawn Watercolor Wishes Rainbow 6x6 Petite Paper Pack along with a variety of distress oxide inks and lots of other products on the website. So let’s get started! 
CARD BASE & LAYERS
WHITE CARDSTOCK:
1. Card base (heavyweight): 5-1/2” x 8-1/2”, scored at 4-1/4”
2. Inside sentiment panel (lightweight): 4” x 5-1/4”
GOLD/YELLOW CARDSTOCK:
1. Inside layering panel: 4-1/8” x 5-3/8”
PATTERNED PAPER:
1. Front layering panel 4-1/4” x 5-1/2”
2. Inside embellishing strip: 1/2" x 5-1/4” (approx.)
WHITE COTTON CARDSTOCK (NOT SHOWN):
1. For stamping focal image: 4-1/4” X 5-1/2”
CREATE FOCAL IMAGE
Using the MISTI Stamp Tool, stamp the focal image from the Pinkfresh Studio Twilight Tales Stamps in Memento Tuxedo Black Ink on white cotton cardstock. Don’t remove the stamp from the MISTI yet.
Next, secure the stamped focal image to the Ranger-Wendy Vecchi 7” Make Art Stay-tion with magnets. Using the Pinkfresh Studio Twilight Tales Stencils, Spellbinders 5/8” Best Ever Craft Tape, Ranger Tiny Blending Tools and Foams, and a variety of Ranger Distress Oxide Inks, stencil the focal image. I used Wild Honey Distress Oxide Ink, Fossilized Amber Distress Oxide Ink, Fired Brick Distress Oxide Ink, Picked Raspberry Distress Oxide Ink, Wilted Violet Distress Oxide Ink, and Broken China Distress Oxide Ink.
Place the stamped and stenciled focal image back into the MISTI Stamp Tool, and stamp once again in Versafine Onyx Black Ink to get good, crisp lines. Now cut the image using the Pinkfresh Studio Twilight Tales Dies. I added some details with a liquid dimensional embellishment.
ADHERE LAYERS
Using the Scrapbook Adhesives E-Z Runner Permanent Strips, adhere the patterned paper from the Lawn Fawn Watercolor Wishes Rainbow 6x6 Petite Paper Pack to the front of the card base. Next, adhere the white cardstock to the gold/yellow cardstock layer, along with the inside embellishing strip cut from patterned paper. 
ADHERE FOCAL IMAGE
Using the My Sweet Petunia Glue Press with Bearly Art Precision Craft Glue, adhere the focal image to the card front. 
ADD SENTIMENTS
Using the MISTI Stamp Tool, stamp the front and inside sentiments from the Pinkfresh Studio Twilight Tales Stamps on a scrap piece of lightweight white cardstock in Versafine Onyx Black Ink, and cut them with the coordinating Pinkfresh Studio Twilight Tales Dies. Adhere the front sentiment to the card front using Scrapbook Adhesives Thin 3D Foam Squares. Adhere the inside sentiment to the inside panel using the My Sweet Petunia Glue Press with Bearly Art Precision Craft Glue. 
COMPLETE PROJECT
Add a few gemstones to the card front. 
Adhere the inside panel to the inside of the card base using the Scrapbook Adhesives E-Z Runner Permanent Strips, and your card is complete. 
I hope you've enjoyed this thank you card featuring the Pinkfresh Studio Twilight Tales Stamps, Stencils and Dies! Such a fun suite of products! Be sure to visit Scrapbook Pal on Facebook, Pinterest and Instagram for more design team inspiration! And if you haven't yet subscribed to our YouTube Channel, be sure to do that, too, for tons of hands-on crafty inspiration! Thanks so much for stopping by today – we’ll see you next time!
Scrappy hugs,
Leslie