Hello ScrapbookPal friends! Today I have a pretty birthday card (for someone special - me!) made with the new Altenew - Build-A-Garden: Garland Grace and Altenew - Dies - Build-A-Garden: Garland Grace Add-On. I have proven time and again not to be trusted with a pair of scissors, so I always get the extra add-on die set if available. I am not a fan of fussy cutting! But if you are, you could totally skip that and just get the Garden Grace Build-A-Garden bundle without the die add-on. The bundle includes the stamp set, stencils, and the best part: another mini blending brush for your collection! I love these brushes!
When I got this set, I had the idea to color this flower arrangement in a gradual blend of pinks, purples, and blues. This was not an original idea of course... I borrowed it from my lovely Virginia Bluebells that have just finished flowering. The ones on my property start off as pink, transition to a beautiful light purple, and finally open up as a periwinkle blue. They are absolutely gorgeous, and worth a trip along the Shenandoah River next Spring!

I stamped the floral arrangement on white cardstock with VersaMark ink, and then added WOW! - Embossing Powder - Super Fine - Metallic Silver, and melted it with a heat gun. I followed the stencil coloring for the bigger flower, and then used multiple colors on the smaller flowers, from pinks to Shaded Lilac, and then Tumbled Glass. I thought it came out so pretty! I also thought the bigger flower could use a bit more shading, so I went back to the first stencil, and added shading around the edges with Worn Lipstick and Shaded Lilac inks, using my Altenew - Mini Blending Brush.

I used the Altenew Garland Grace Add-On Dies to cut out the flower arrangement. This is a gorgeous larger design, and would easily fill a 5x7 card, but I decided to stick with a standard 4.25 by 5.5 inch card. That meant I'd have to cut something off somewhere. I loved how the smaller flowers came out, so I cut some of the larger flower off.
Once I had the positioning figured out, I added Dusty Concord Oxide ink to the bottom of the card, on the diagonal. It's so easy to get a rich color with the Distress Oxides without much effort. I also decided to layer a frame behind the front of the card using the darker Villainous Potion.
I chose the "happy birthday" sentiment from the stamp set, stamped again in the VersaMark ink onto vellum, and added silver embossing powder. The vellum alone wasn't thick enough, so I ended up layering on top of a piece of white cardstock for stability.
I put together my card, but it didn't feel quite done. I added Spellbinders - Splatter Effects - Sparkle, and that helped a bit. I used Scrapbook Adhesives Thin Foam Squares Variety Pack to attach the floral piece and sentiment to the card. It was nice, but I still felt something was missing. Some sequins? Butterflies? Hearts? I know! A bee! And I know the prefect bee - the Altenew - Dies - Bubbly Bumble Bee! But a regular yellow and black bumble bee detracted too much from the flowers. Then I made a vellum bee, but he was a bit too inconspicuous. I made another bee with vellum wings, a sparkle paper white body, and silver stripes and legs. I thought that was much better, and added the interest and dimension that I felt completed this card.

I hope you try this gorgeous Garland Grace set from Altenew! Thank you for visiting my blog - I appreciate you! My supplies are listed below, and available at ScrapbookPal.com!
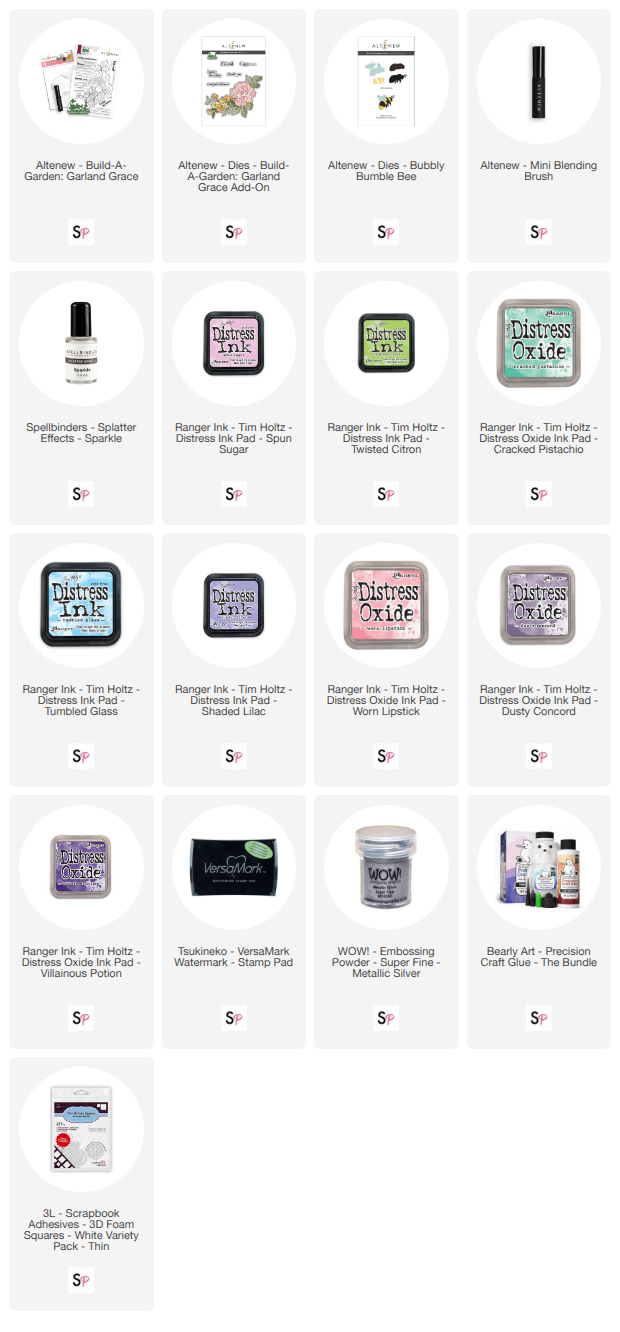
Products used in this project, available at ScrapbookPal.com: