Happy Saturday, crafty friends! Tiffany here with another mixed media card. Today, I am featuring the Avery Elle Succa For You stamp and die set. It was fun to layer products and textures to create this grungy card. I think it is perfect for a masculine design or for any cactus lover! And I very much appreciate the sentiment puns. Let's get into the details.
I started off stamping multiple images from Avery Elle Succa For You with Gina K Amalgam ink. I heat set after stamping to ensure the ink was dry before coloring. I used a variety of distress watercolor pencils to color each image. I dried between layers of colors and splattered the images once I was done coloring. I die cut the images with the coordinating die set.

After die cutting, I ran the cacti pots through the Mini Brickwork embossing folder. I could fit all three pots into the tiny embossing folder so they could go through at the same time. I like that it added a fun texture to the pots. To highlight the texture, I gently rubbed on top of the image with the Vintage Photo Archival Ink pad. The ink pad caught the brick texture in some places and not others giving a distressed effect.

Next, I worked on the background panels. I used the Pinkfresh Studio Mini Slimline Bundle to die cut three layers for the background. For the top most layer, I used ink smooshing to add my first layer of color. I scribbled pumice stone and black soot distress watercolor pencils on my craft mat and sprayed with water. I then picked up ink on my panel and dried between layers. To add even more texture, I used a brayer to apply Catherine Pooler Hoodie ink to the panel.

Once the base color was dry, I added stamping with Black Soot and Vintage Photo Archival inks and Hoodie from Hero Arts Mixed Textures stamp set. When creating these types of backgrounds, I like to stamp images in odd numbers and overlap stamps for variety. The extra texture is just to add interest to the piece. The plants will cover up most of the background. I added black splatter with the black soot watercolor pencil to both the stamped panel and the cacti pots. Finally, I added a light inking of Vintage Photo around the edges of the images and the card panel layers.

Next, I assembled the plants and adhered them to the card front with foam tape. I stamped and die cut a sentiment and put it within the flag image from the stamp set. I thought this sentiment was funny because I love the song/band the sentiment is referencing. Lastly, I added a small twine bow on the last pot for a little extra detail. I think the small details and the layers really helped bring this stamp set to life.


Thanks so much for reading! Let me know in the comments if you have any questions. See you next time!

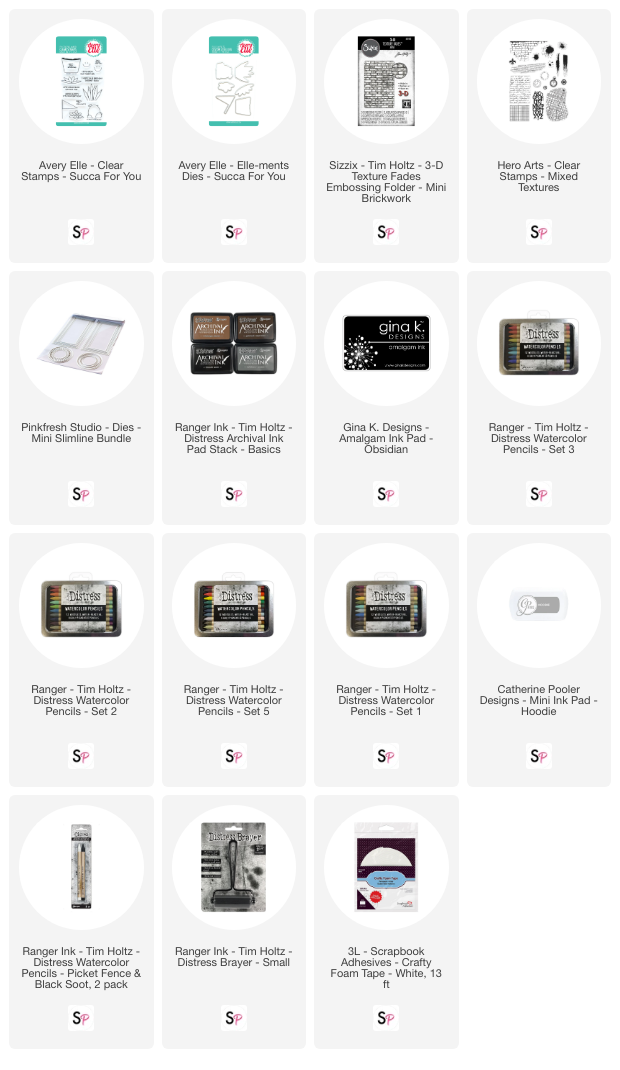
Supplies: