Hello crafty friends! Lieschen here from @harshgurl excited to share with you another card tutorial. Today's card features Honeybee Stamps Eternal Love stamps and dies. This stamp set has beautiful floral images that you can stamp and color or you can create a beautiful background with them. Let's begin the tutorial so you can see how I made this fun card.
I started by trimming a piece of white card stock to use as my front panel for the A2 card base. Then, I used my Stampwheel to stamp the floral images from the Eternal Love stamp set to create a background. Next, I heat embossed the images with Classic Silver embossing powder.

Once I was done with heat embossing, I started to add color to the background. For this, I used Faded Jeans and Uncharted Mariner distress inks.

I wanted to add more to the background, so I die cut a circle and then used the 3D Floral Heart folder to add something extra to the background. Later on you'll see that I added some color to the circle die cut from ink leftover on my blending brush.

Next, I stamped one of the images from the Eternal Love stamp set and heat embossed it with Classic Silver embossing powder. Then, I inked the image with Faded Jeans distress ink and used the coordinating dies to die cut the image. I die cut extras and glued them together to add dimension.

I had all the major pieces done so I started assembling my card. I started adding glue to the front panel piece to glue it to the card base. Then, I glued the floral die cut onto the embossed circle cut. Next, I added foam adhesive to this piece and taped it to the center of the card

For the sentiment of my card, I heat embossed one of the sentiment form the Eternal Love stamp set and die cut it using the coordinating dies.

Now that I was almost done with my card, I needed to add some extra sparkle. For this, I used some Pinkfresh Studio Glitter Drops that I glued on the background.

To finish my card, I matched it with a complimentary envelope and now it is ready to be mailed to a loved one.
I hope you have enjoyed today's card tutorial as much I did when I made it and that it gives you some fun inspiration to do something fun and creative today!
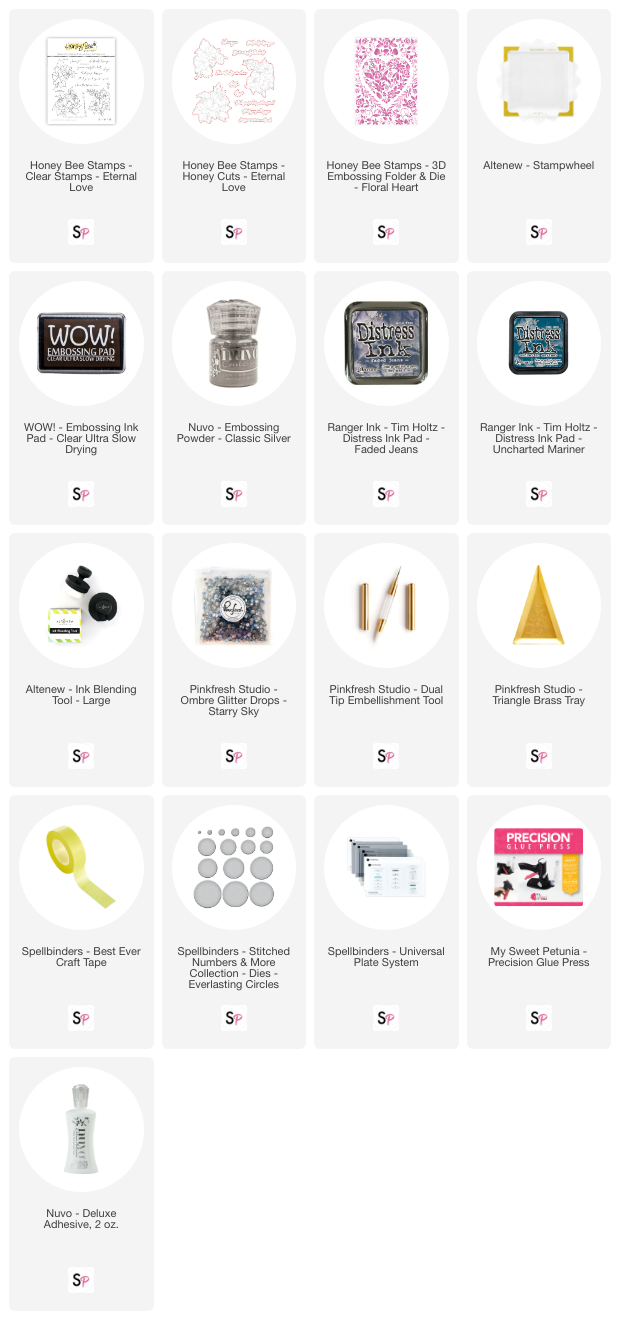
Supplies: