To start I cut down the cardstock, I wanted to create a mini slimline card so I cut the base to 6x6 inches and scored it at the 3 inch mark giving me a 6x3 inch base, I also cut down a black matte to 1/8th of an inch smaller than the base and a white panel to 1/4 of an inch smaller than the base.
Next, I cut out a mask to blend onto the panel creating a hill and sky. I used a few Distress Oxide colours on my background in Scattered Straw and Dried Marigold for the sky and Tumbled Glass and Shaded Lilac for the snow portion of the background. Then I stamped out several images from the Frosty Family stamps and add on stamps to create my family in snowmen.
I also used the matching stencils to colour my snow family, I used Shaded Lilac, Tumbled Glass and Lost Shadow on all of the snow areas, For the hats I used Black soot and Victorian Velvet and added some white details later for added interest. I used the coordinating dies and cut out all my images and started to create my scene.
Once all my layers were adhered I went in and added some Mica Flakes for more texture through out the snow. I also added some white dots on the sky portion to make it look like falling snow. I am pretty happy with how this card turned out and I hope you enjoyed it as well.
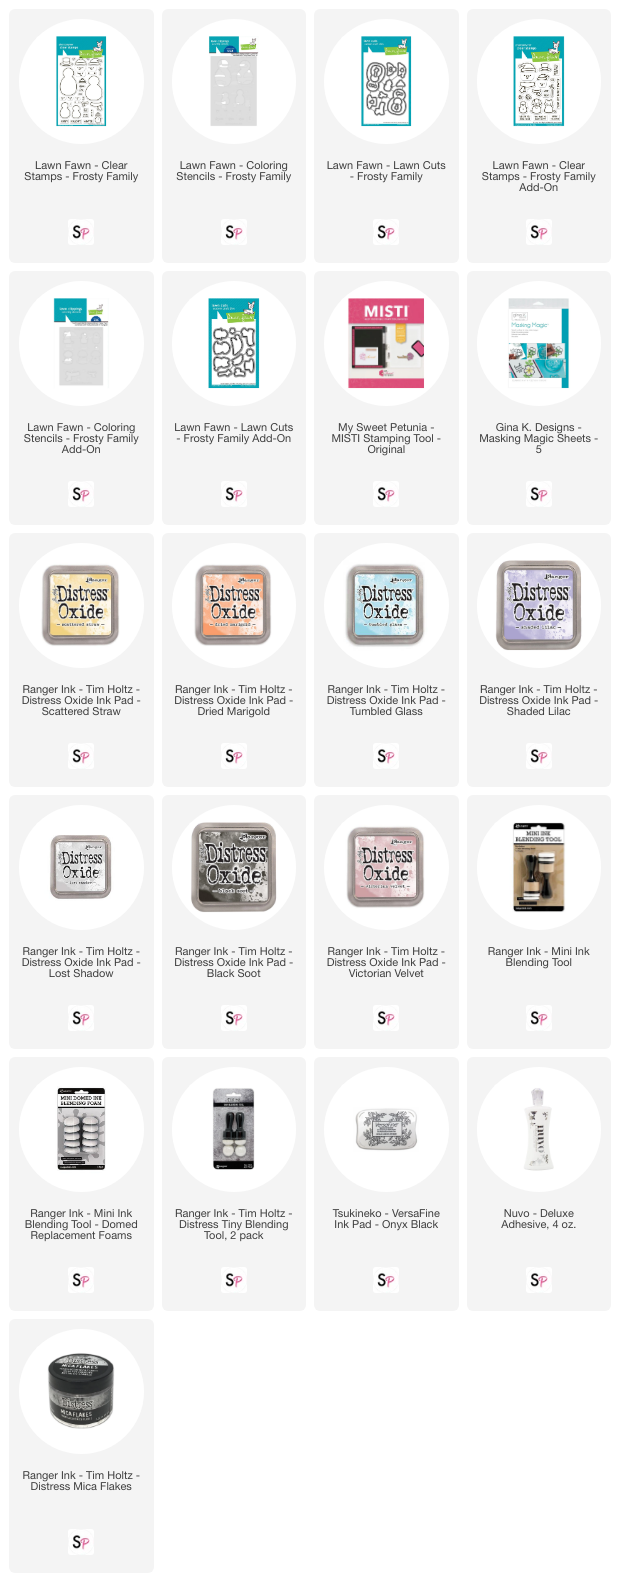
Thank you so much for taking this quick look at how this card came together. If you would like a more in-depth look please check out the video below, I also have a complete supplies list in case you want to know exactly what I used. I hope to see you again very soon!!
Supplies:


