Hello ScrapbookPal friends! I have surely fallen into a pattern of luck! Most of my assignments this year on the Design Team are for Pinkfresh Studio, one of my favorite companies. Of course I love all of their floral designs. I find I have to stretch myself for the non-florals, like this darling set, appropriately called Darling District, including Pinkfesh Studio - Press Plates - Darling District, Pinkfresh Studio - Stencils - Darling District, Pinkfresh Studio - Dies - Darling District. There is also a stamp set available, and I will share my faux pas in regards to the stamps! I love the crisp results I get from using press plates and my Spellbinders - BetterPress Letterpress System. I have assumed that the acrylic stamp sets and the press plates in any specific product line are interchangeable. They are... mostly. You can stamp the image, and it will work with the coordinating dies and stencils, OR, you can either "stamp" or foil the image with the press plate, and it matches up the same. However, and probably due to production factors, there MAY be a stamp that is not included in the press plate set, like in this case. If you look at the stamp set, you will see little stamps to use on the awnings of the buildings that say "le petit cafe" and "boutique". Those words are not included in the press plate set. Not a big deal, unless you but the press plate set expecting them to come with! If you have to choose one or the other, I recommend the stamp set for this design, unless you're able to get the whole bundle with both.
To fix my oversight, I decided to use Ranger Ink - Tim Holtz - Distress Texture Paste - Sparkle - 3 oz. on my awnings after I colored them with the stencils. And then I ordered the stamp set!
Pinkfresh Studios have a look to their designs that I tried to follow here. In my mind, I see lots of beautiful, tasteful pastel palettes, a touch of sparkle, loads of details, and lots of white. Sometimes when I design, I try to do something different, to show you another style to use the products perhaps. When I get a new assignment, I try very hard to not look at what has already been done, so I feel I am coming up with unique ideas for you. Here I cut down one of the buildings, and I decorated the inside of the card as well as the front, using a large window to peak in. Also using the sparkle texture paste was something that I thought would be different.

It was a pretty simple card to put together once I started. I used the Pinkfesh Studio - Press Plates - Darling District with silver hot foil in my Glimmer foiling machine. I foiled the buildings and most of the sentiments at once, so I would be able to choose one of the sentiments later. Sometimes if I'm not making a card for a specific person or occasion, I'll pick the sentiments that physically fits the best on the card. Next, I used the Pinkfresh Studio - Stencils - Darling District to color the image. There was one stencil I skipped - I think it was the 4th one, and just added more details to the windows I believe. I used Ranger Tim Holtz Distress Inks in Spun Sugar, Kitsch Flamingo, Salvaged Patina, and Antique Linen. After I was done adding color, I went back to the stencil with the awnings to add the sparkle texture paste, and let that dry before using the dies to cut out my pieces.

I used the second largest inside frame in the Pinkfresh Studio - Dies - Dotted Fancy Frames to cut a large window in the front of a white A2 side fold card. I then used the largest frame to cut out a window in a 4 1/4 by 5 1/2 piece of light teal cardstock. I wanted the white card to layer underneath the teal piece. It also gave me a place to attach my cafe. I also cut a white frame, and used my Gina K. Designs - Embossing Folder - Swiss Dot to add texture to that layer.

Before gluing anything, I placed my taller building inside, and positioned it where it could be seen behind the cafe, which I would then attach to just the right side of my window with my favorite liquid glue. I wanted to add a little more detail and color inside the card, so I applied Distress Spun Sugar using a blending brush and a brick layering stencil.
I finished my card with foam squares to layer the front, and Aura Opalescent sequins from Spellbinders.

I hope you try some of these great new designs from Pinkfresh Studios! Thank you for visiting my blog - I appreciate you! My supplies are listed below, and available at ScrapbookPal.com!
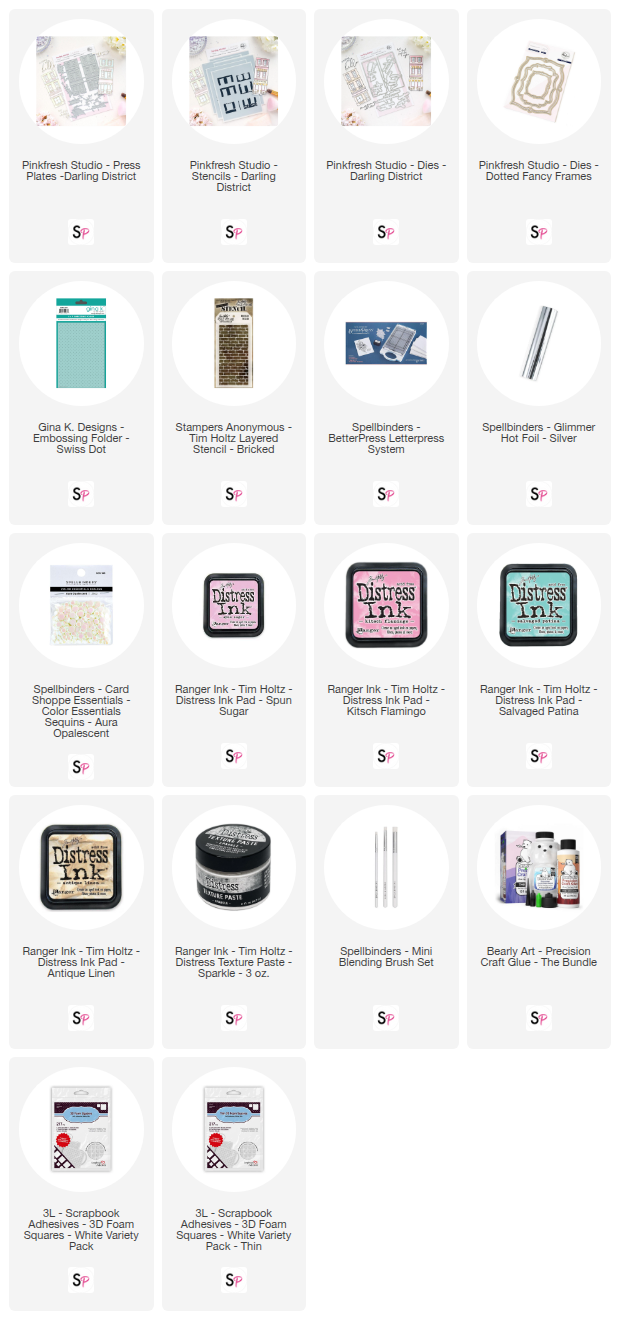
Products used in this project, available at ScrapbookPal.com: